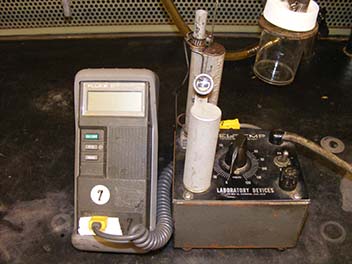
Gather supplies.

You will need to gather a digital thermometer and MelTemp, melting point capillary tubes, your sample, and a watch glass or filter paper.
1) Digital Thermometer
2)
Viewing Window
3) Heat Control
4) On/Off Switch
5) Melting point capillary tubes and glass tubing
Load the melting point capillary tube.
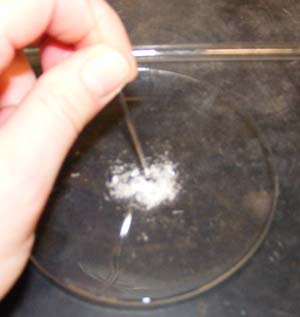
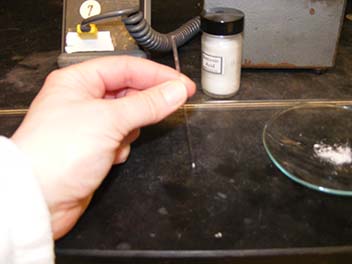
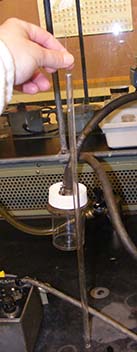
To load solid into the tube, press the open end of the melting point capillary tube into the solid (right.) Then invert the tube (closed end down) and carefully tap the tube on the lab bench to pack the solid into the closed end of the tube (below left.) Forceful tapping may break the tube. You may find it convenient to drop the melting point tube, closed end down, through a glass tube or your condenser onto the benchtop to tap the sample into the bottom of the tube (below right.)
Insert sample into Meltemp.
There are 3 sample slots just behind the viewing window. The thermocouple for the digital thermometer occupies one of the slots. You may insert a sample into each of the other two slots, if desired.
Please use caution. The heating block and the light source get very hot. Do not touch. Also, do not wrap electrical cords around hot MelTemps, as this could melt the protective cord.
As a courtesy, please remember to turn off your digital thermometer as they are battery operated.